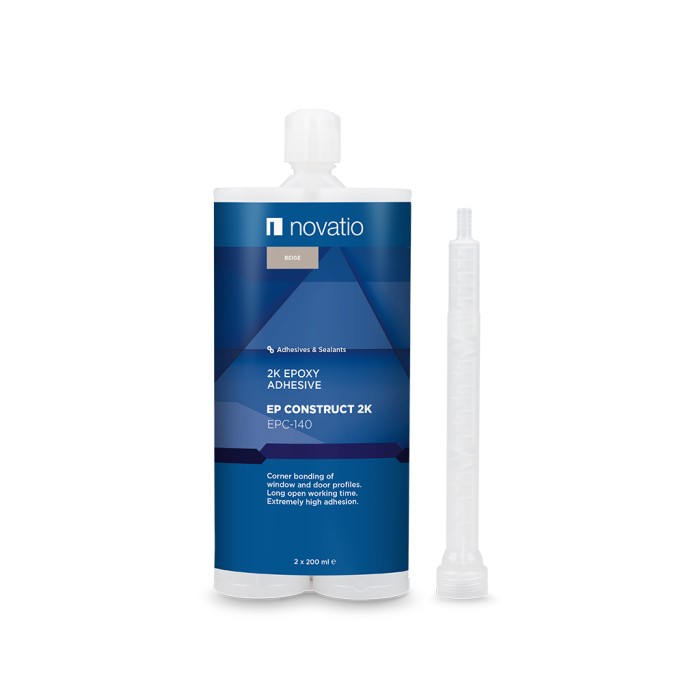
EPC-140 EP Construct 2K
2K EPOXY ADHESIVE
Corner bonding of window and door profiles.
Long open working time.
Extremely high adhesion.
Packaging
| SKU | EAN | Description | ||
|---|---|---|---|---|
|
513001112 - - EPC-140 EP Construct 2K beige - cartridge 2x200ml | 513001112 | EPC-140 EP Construct 2K beige - cartridge 2x200ml | |
|
|
513001116 - - EPC-140 EP Construct 2K Ramen en Deuren beige - cartridge 2x200ml | 513001116 | EPC-140 EP Construct 2K Ramen en Deuren beige - cartridge 2x200ml |
Description
Contains no isocyanates and is non-corrosive. Safe on all wet paints, powder and structural coatings. Long open working time reduces the need to change the mixer tip. After uniform curing good adhesion on aluminium alloys and PVC. Extremely strong and rigid connections, window assembly without pressing is possible.
Application
Bonding of crimp corners in window and door profiles.
Technical information
EPC-140 EP Construct 2K
2K EPOXY ADHESIVE
- Basis: 2K epoxy.
- Hardening: hardening by reaction with mixed catalyst.
- Consistency: paste.
- Colour: beige.
- Processing temperature: between +5°C and +35°C.
- Temperature resistance: from -50°C to +150°C.
- Gel formation/open time: 4 hours.
- Curing time (in miter): 24h (maximum strength build-up after 7 days).
- Tensile strength:
- after 24h: 12 N/mm².
- after 7 days: 17 N/mm².
- Hardness: 75 Shore D.
- Shelf life: 24 months, kept cool and dry in original packaging.
- Safety measures: please consult the safety data sheet.
Instructions
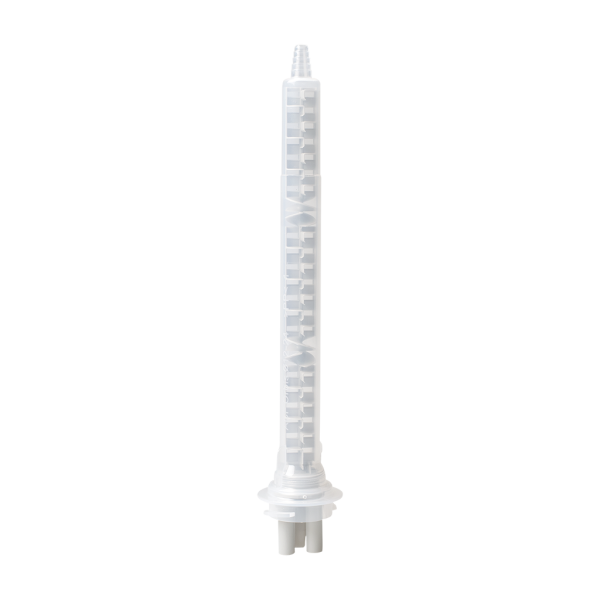
- Remove the cap and pump until the two components flow evenly.
- Fit the mixer tip and spray out 5 cm until a homogeneous colour is obtained.
- Apply to a clean and stable surface, if necessary clean with Safety Clean and/or Multifoam.
Replace the mixer tip after 3 to 4 hours of inactivity.
Remove the mixer tip after use and store the cartridge with the sealing caps.
When using a pneumatic pistol: only with telescopic pistons.
Crimp corners:
- Apply EPC-140 EP Construct in the chambers of the crimp corners.
- Position the crimp corners and assemble the window.
- Press the corners and remove excess product; clean the mitres using Safety Clean.
When bonding without pressing: clamp the pieces for 24 hours.
Higher temperatures accelerate the curing.
Technical documents
Related products
All products